Completed Job Listing
Finding a Completed Job
To open a Completed Job, navigate to the  icon and click on the
 ![]() icon.
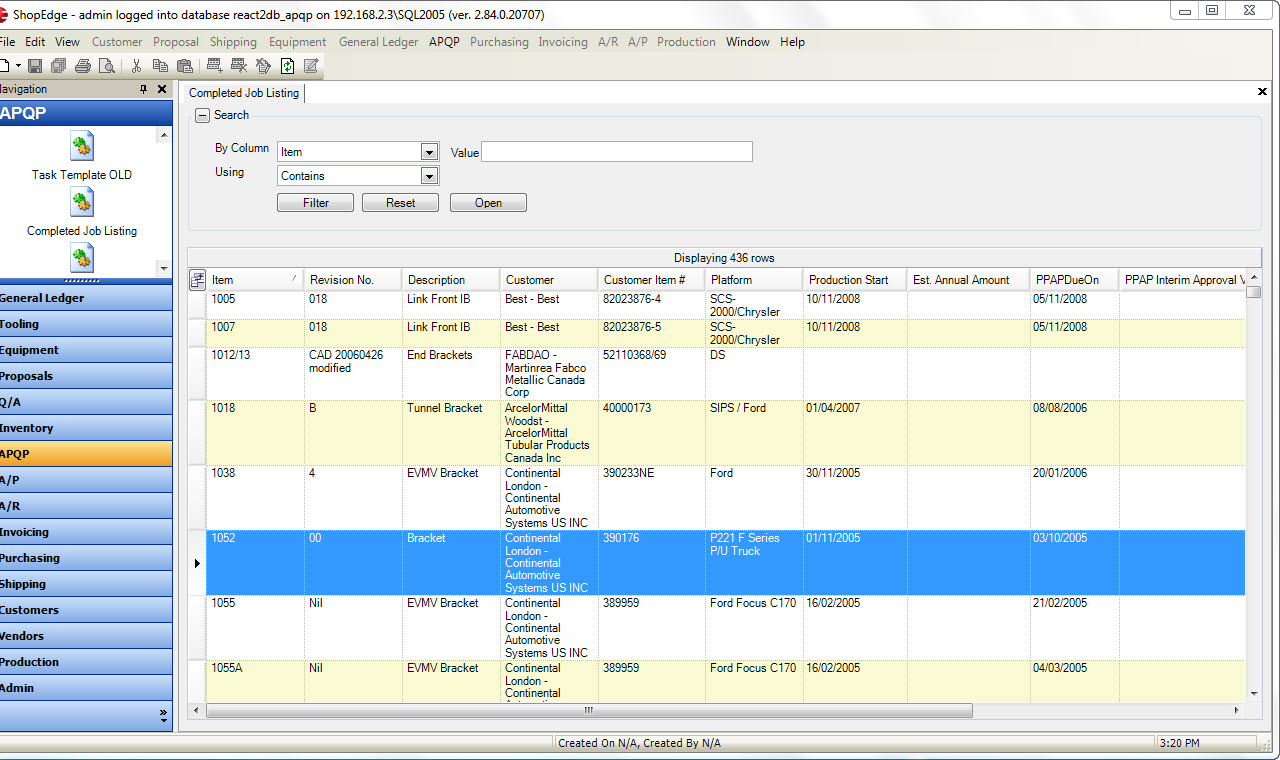
The Completed Job Listing screen will be displayed.
icon.
The Completed Job Listing screen will be displayed.
Locate and select the job you wish to view by double-clicking on the appropriate row. This will open the Planned Job Details screen.
Adding a Picture
To add a Picture to an APQP job, navigate to navigate to the  icon and click on the
 ![]() icon.
The Completed Job Listing screen will be displayed.
icon.
The Completed Job Listing screen will be displayed.
Locate and double-click on the job you wish to add the picture too. This will open the Planned Job Detail screen.
The Info panel is on the right side of the screen. Too add a new Picture, click on the 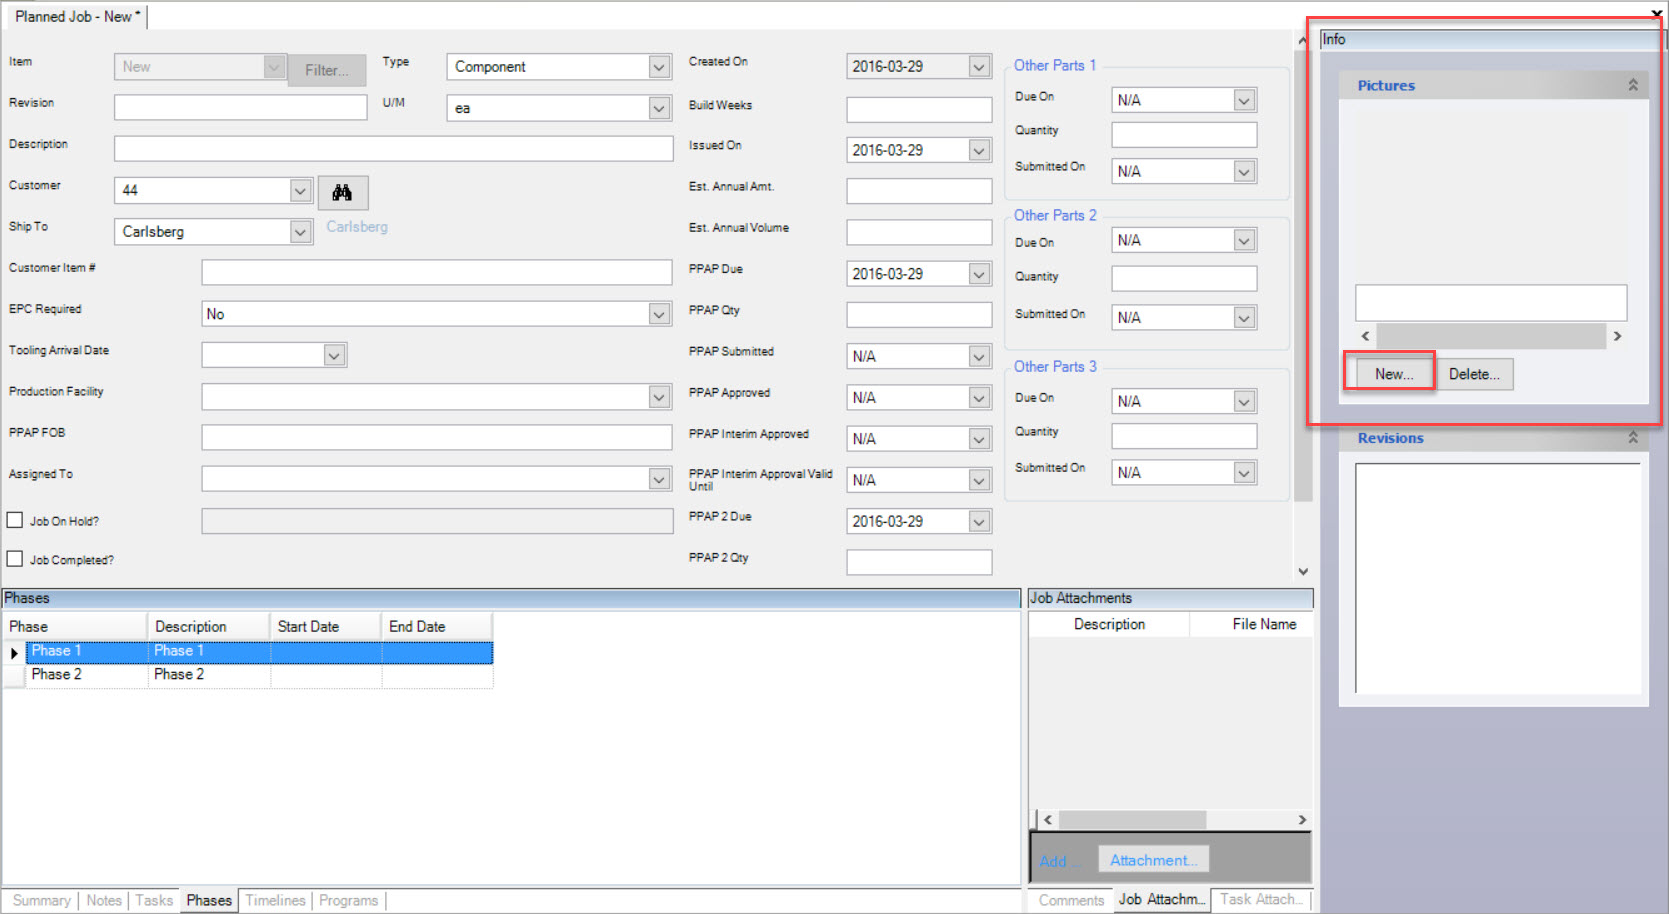 button.
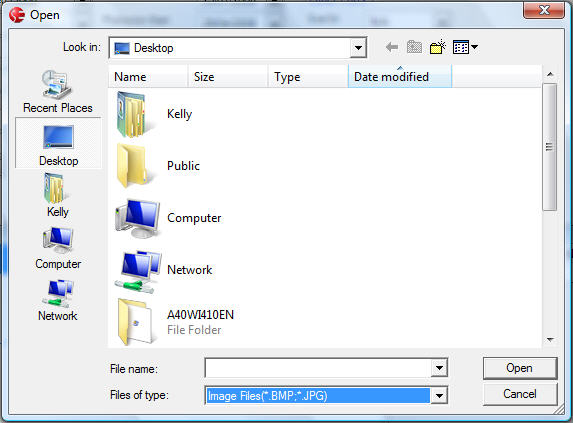
The system will then allow you to browse your computer to find the Picture you wish to add.
You also have the ability to type in a Description of the Picture you added in the text box beneath it.
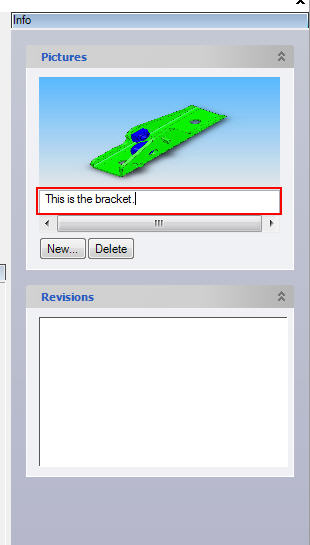
Do not forget to save your changes before exiting the screen.
Deleting a Picture
To delete a Picture from an APQP job, open the Completed Job Listing screen by navigating to the  icon and click on the
 ![]() icon.
The Completed Job Listing screen will be displayed.
icon.
The Completed Job Listing screen will be displayed.
Locate and double-click on the job you wish to delete a Picture from. This will open the Planned Job Detail screen.
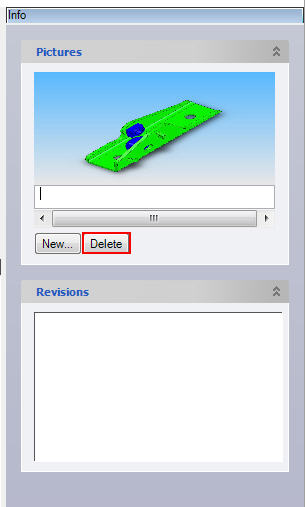
The Info panel is on the right side of the screen. Too delete a Picture, click on the  button. The picture will be removed immediately.
Adding Comments to Tasks
To add a Comment to an APQP Job, navigate to the  tab and the
 ![]() icon.
This will open the Completed Job Listing screen.
icon.
This will open the Completed Job Listing screen.
Select the Item you wish to add Comments to Tasks to and double-click on the appropriate row. The Planned Job Detail screen will be displayed.
Note
You must have a Task selected before you can add a Comment to it.
Select the  tab, and then the
  button.
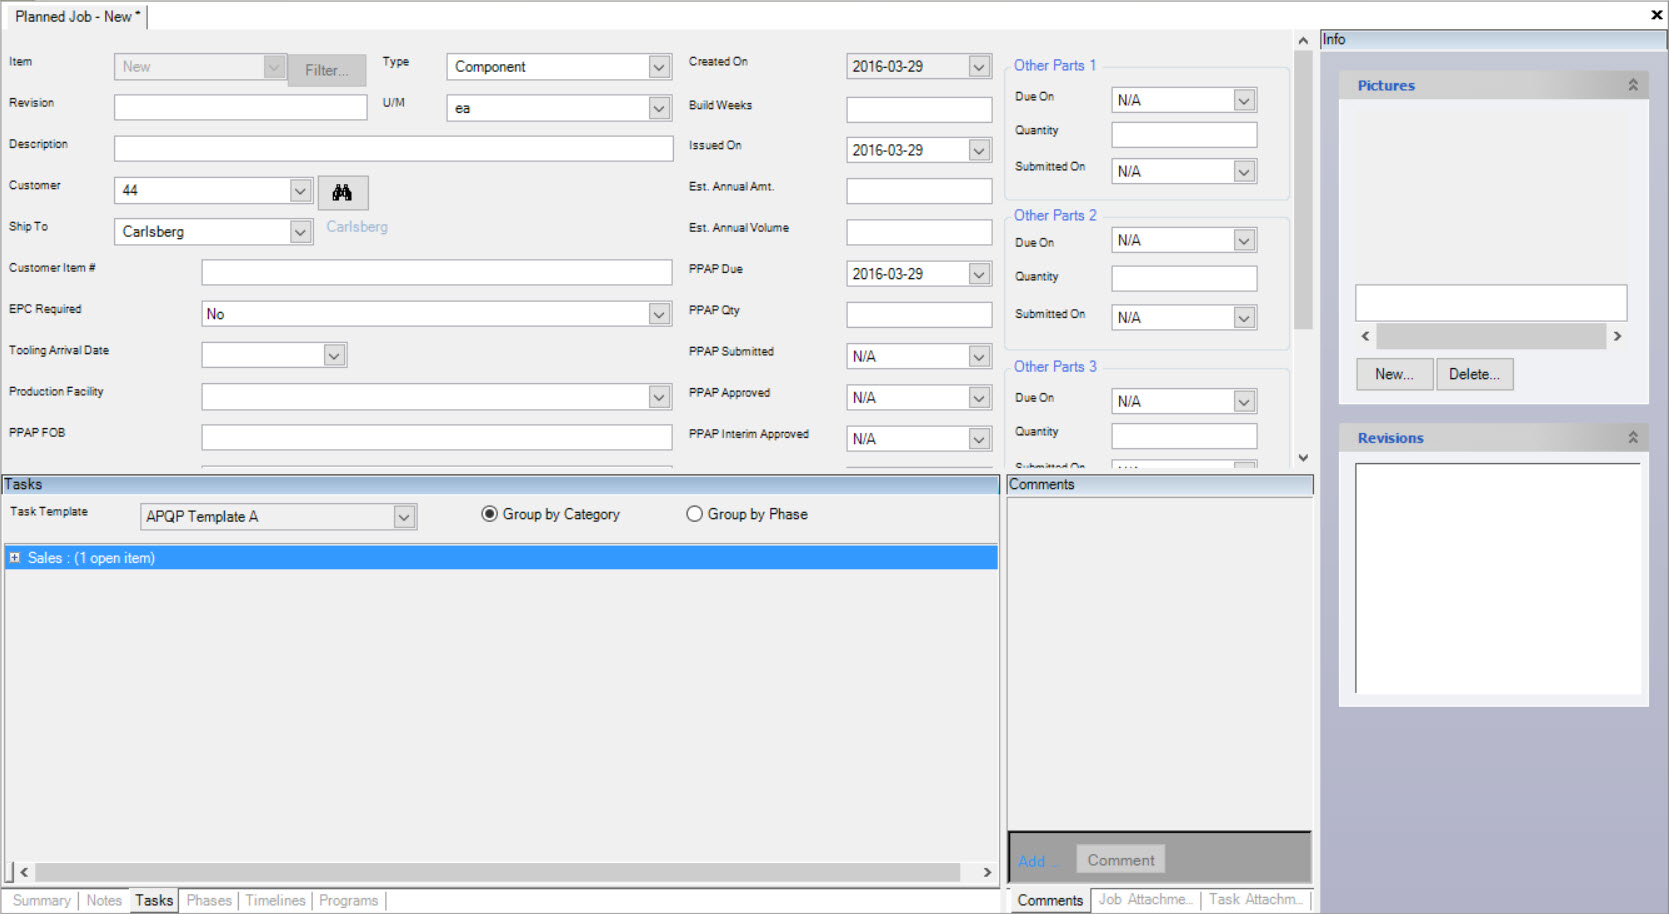
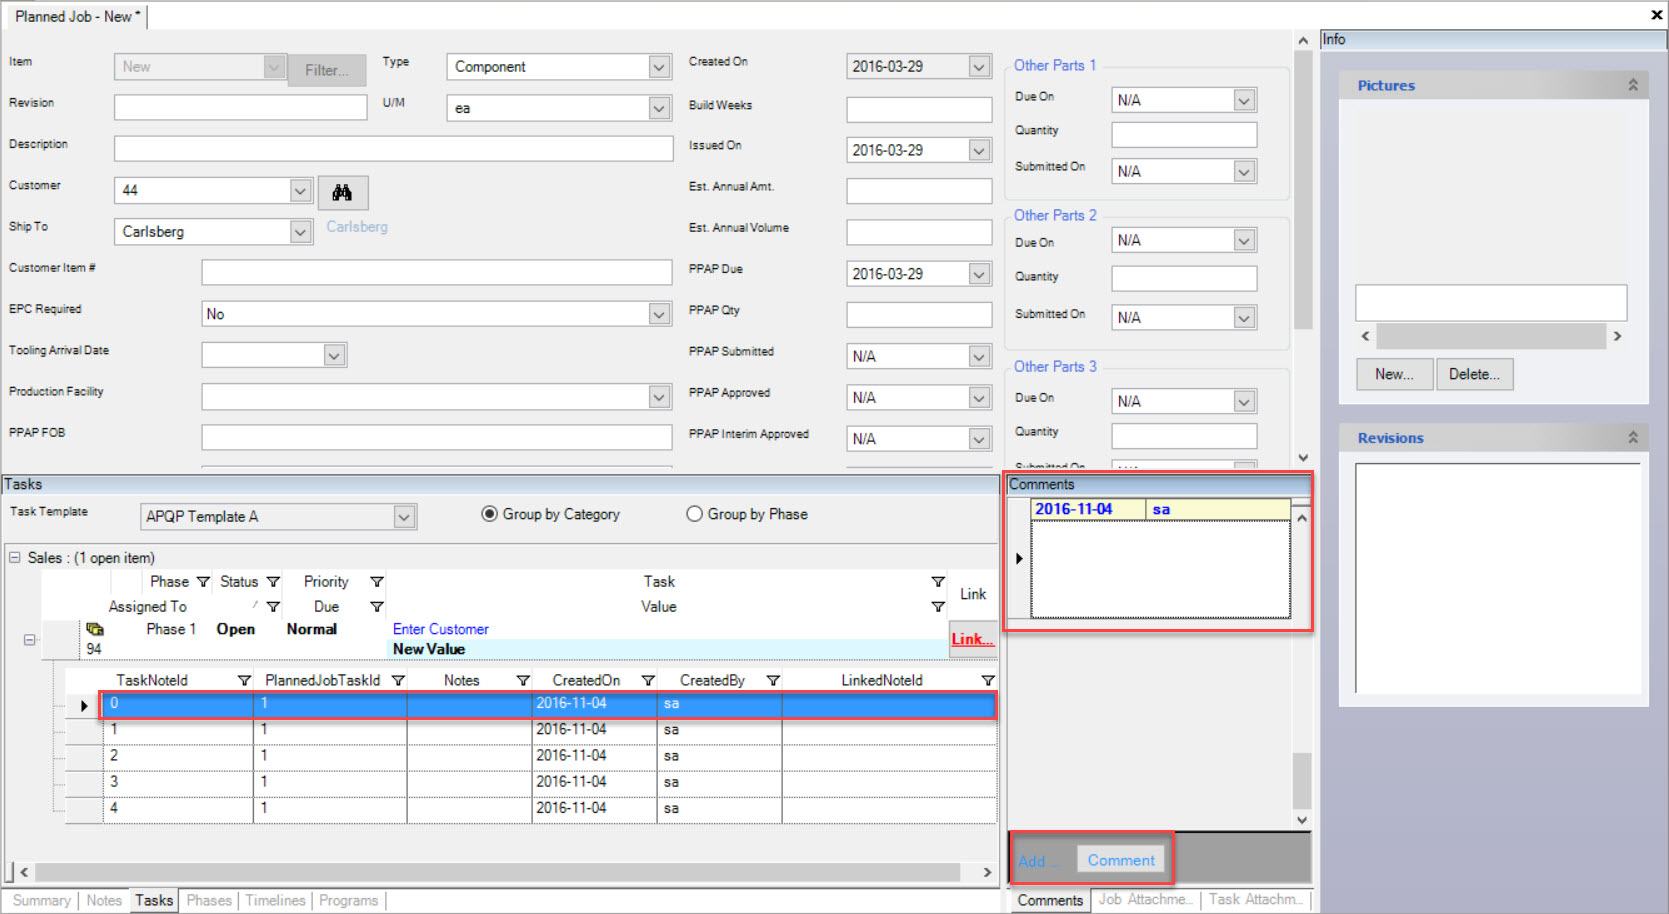
The ShopEdge system will add a table where you can enter your Comments in the text box provided.
Adding Attachments to Tasks
To add an Attachment to an APQP Job, navigate to the  tab and the
 ![]() icon.
This will open the Completed Job Listing screen.
icon.
This will open the Completed Job Listing screen.
Select the Item you wish to add Comments to Tasks to and double-click on the appropriate row. The Planned Job Detail screen will be displayed.
Note
You must have a Task selected before you can add an Attachment to it.
Select the  tab, and then the
  button.
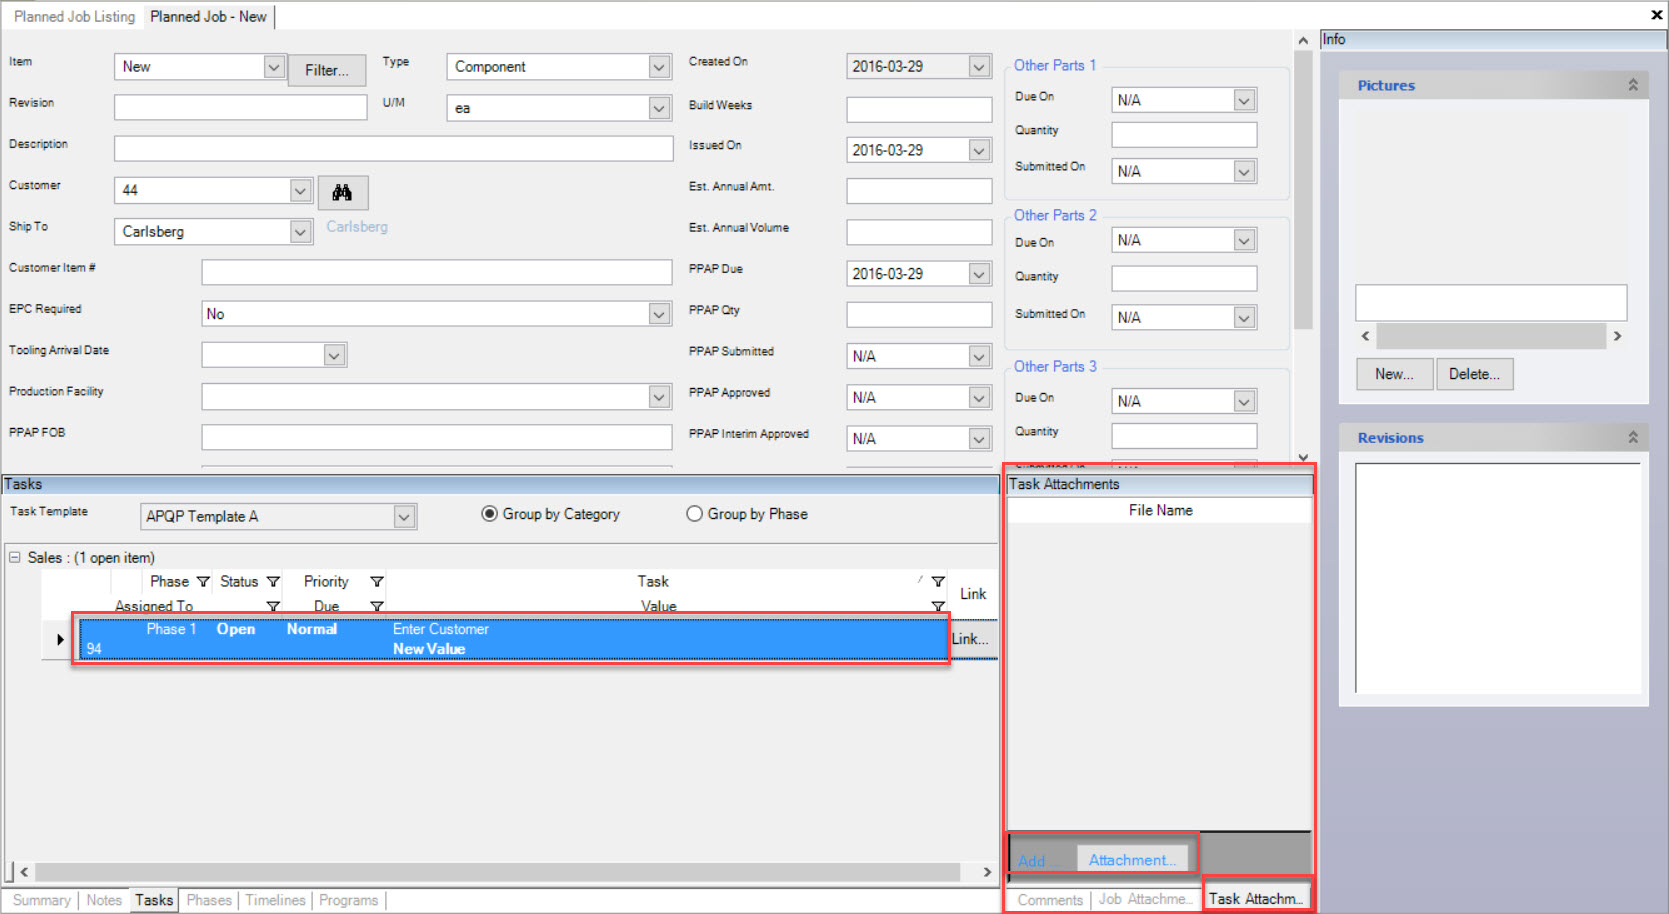
The system will then allow you to browse your computer to find the Attachment you wish to add.

Save your changes before exiting the screen.
Adding Notes to a Job
To add a Note to an APQP Job, navigate to the  tab and the
 ![]() icon.
This will open the Completed Job Listing screen.
icon.
This will open the Completed Job Listing screen.
Select the Item you wish to add a Note to and double-click on the appropriate row. The Planned Job Detail screen will be displayed.
At the bottom of the screen, click on the  tab, and then select the
  button.
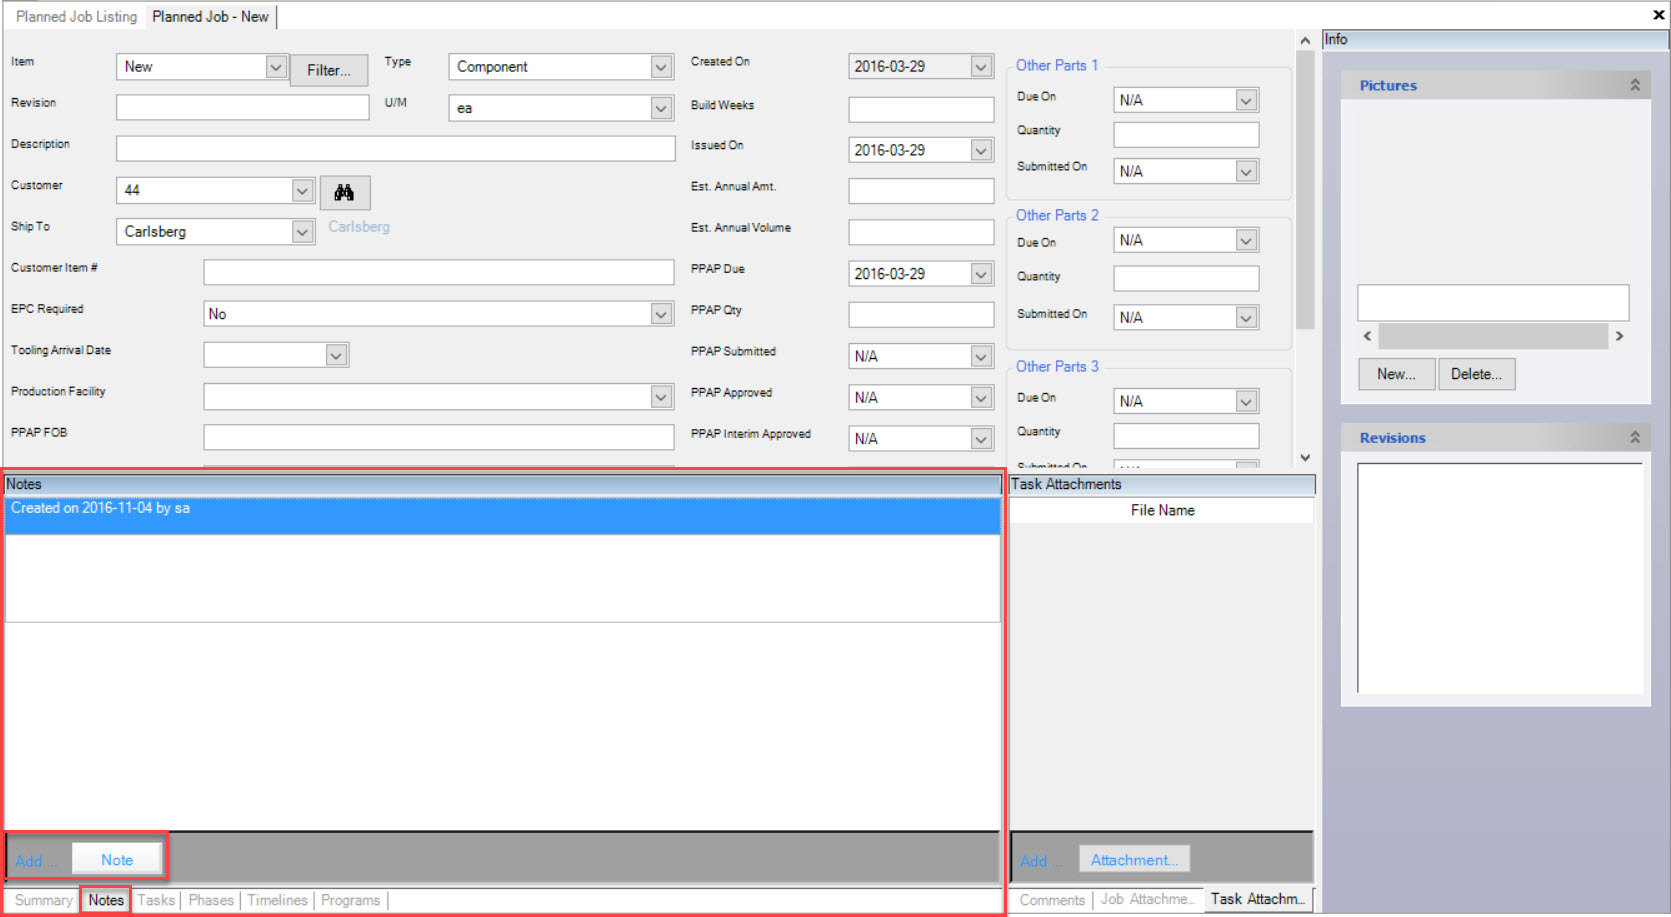
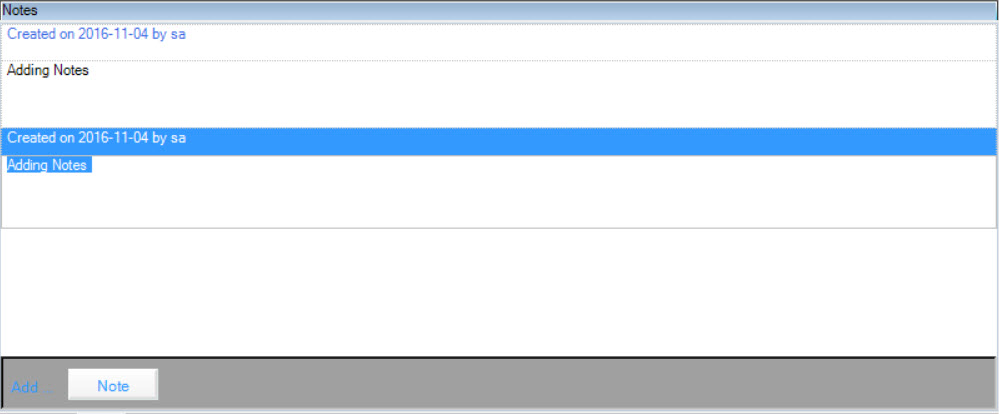
A new table will be added in the Notes section, and you can type in the information you require. Make sure to save your changes before exiting the screen.
Adding Attachments to Notes
To add an Attachment to Notes of an APQP Job, navigate to the  tab and the
 ![]() icon.
This will open the Completed Job Listing screen.
icon.
This will open the Completed Job Listing screen.
Select the Item you wish to add a Note to and double-click on the appropriate row. The Planned Job Detail screen will be displayed.
Note
You must have the  tab selected in order to add an Attachment to the Note of a job.
When the  tab is selected, you will notice that the system will show any previous attachments that were added to the job, as well as enable you to select the
 button to add a new attachment to the job.
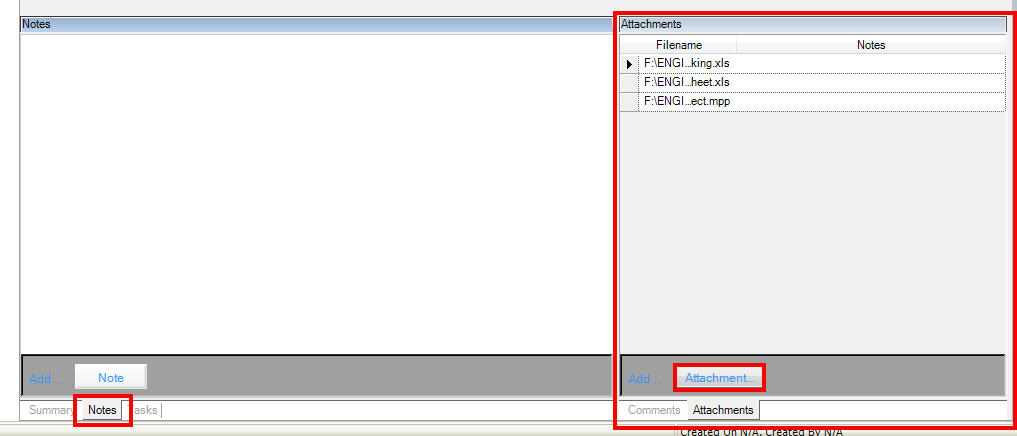
The system will then allow you to browse your computer to find the Attachment you wish to add to the Notes.

Make sure to save your changes before exiting the screen.